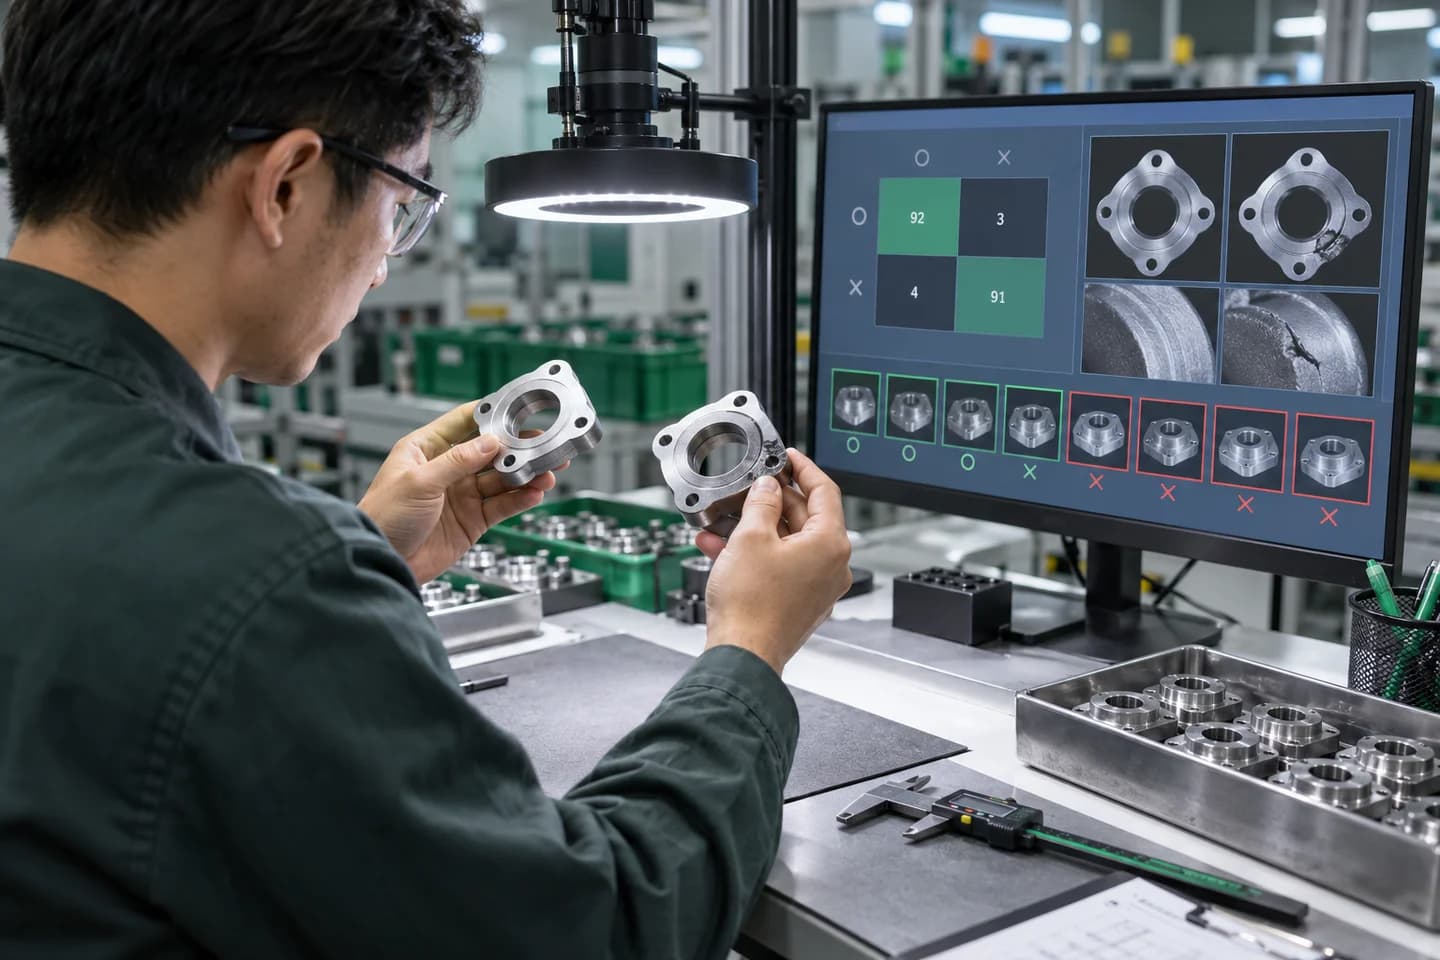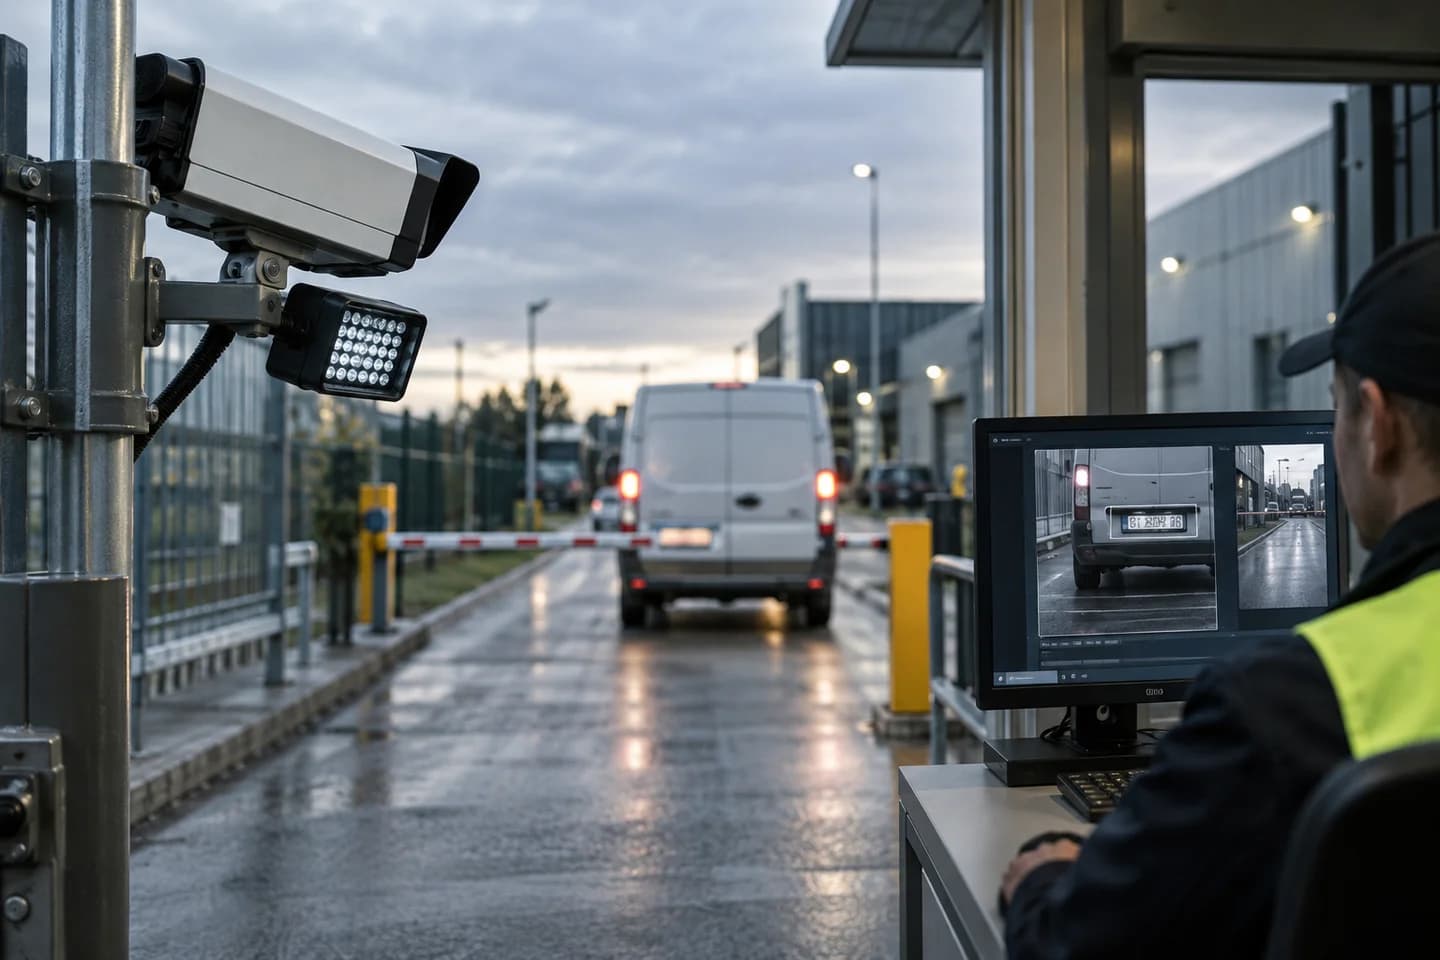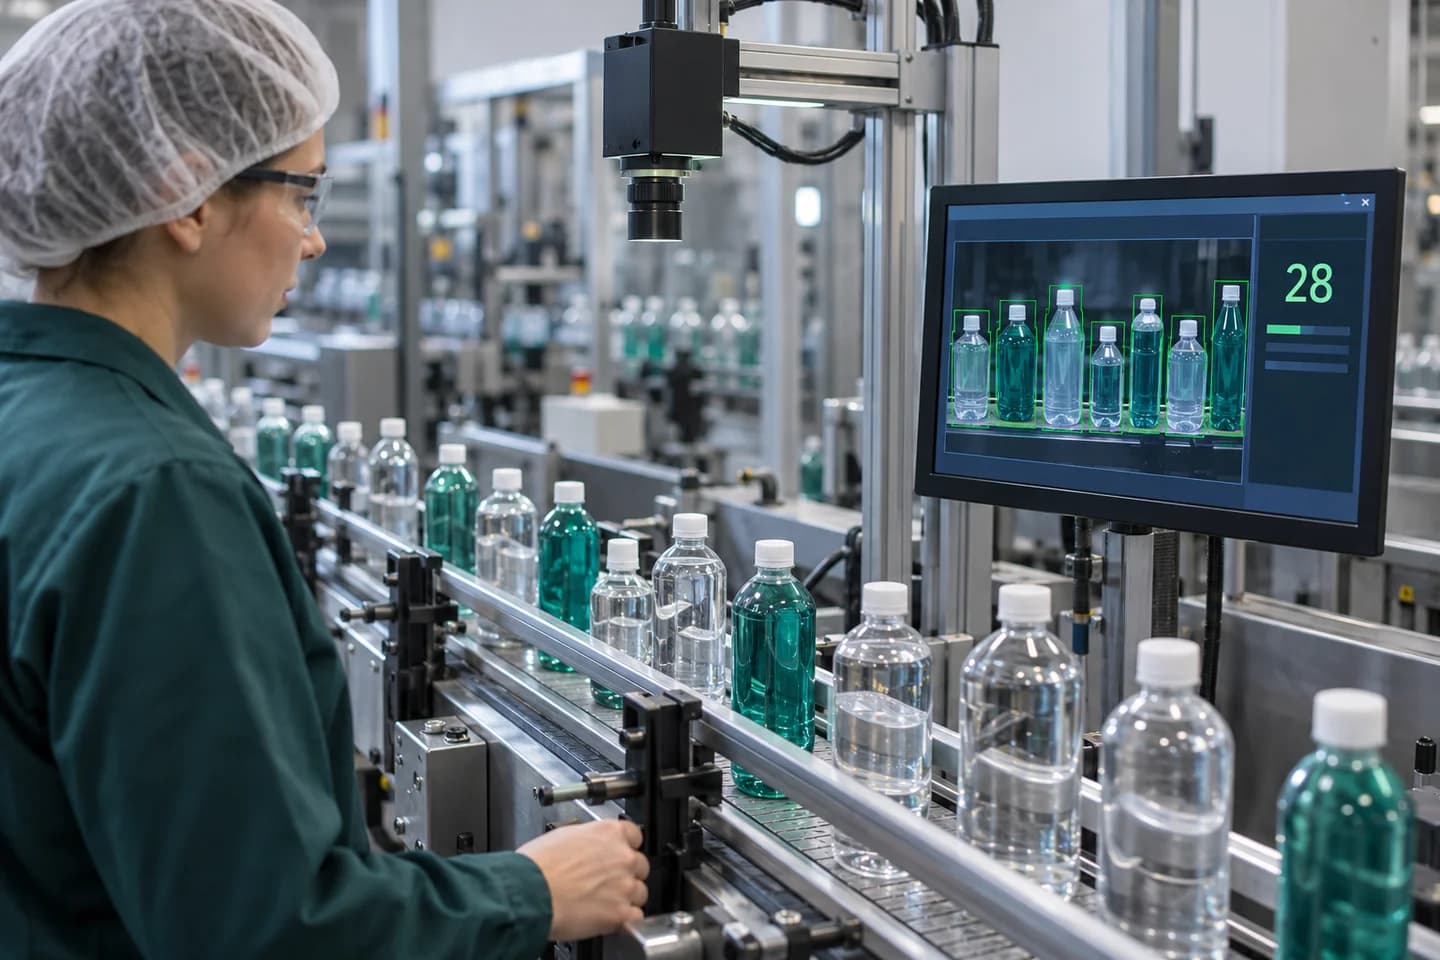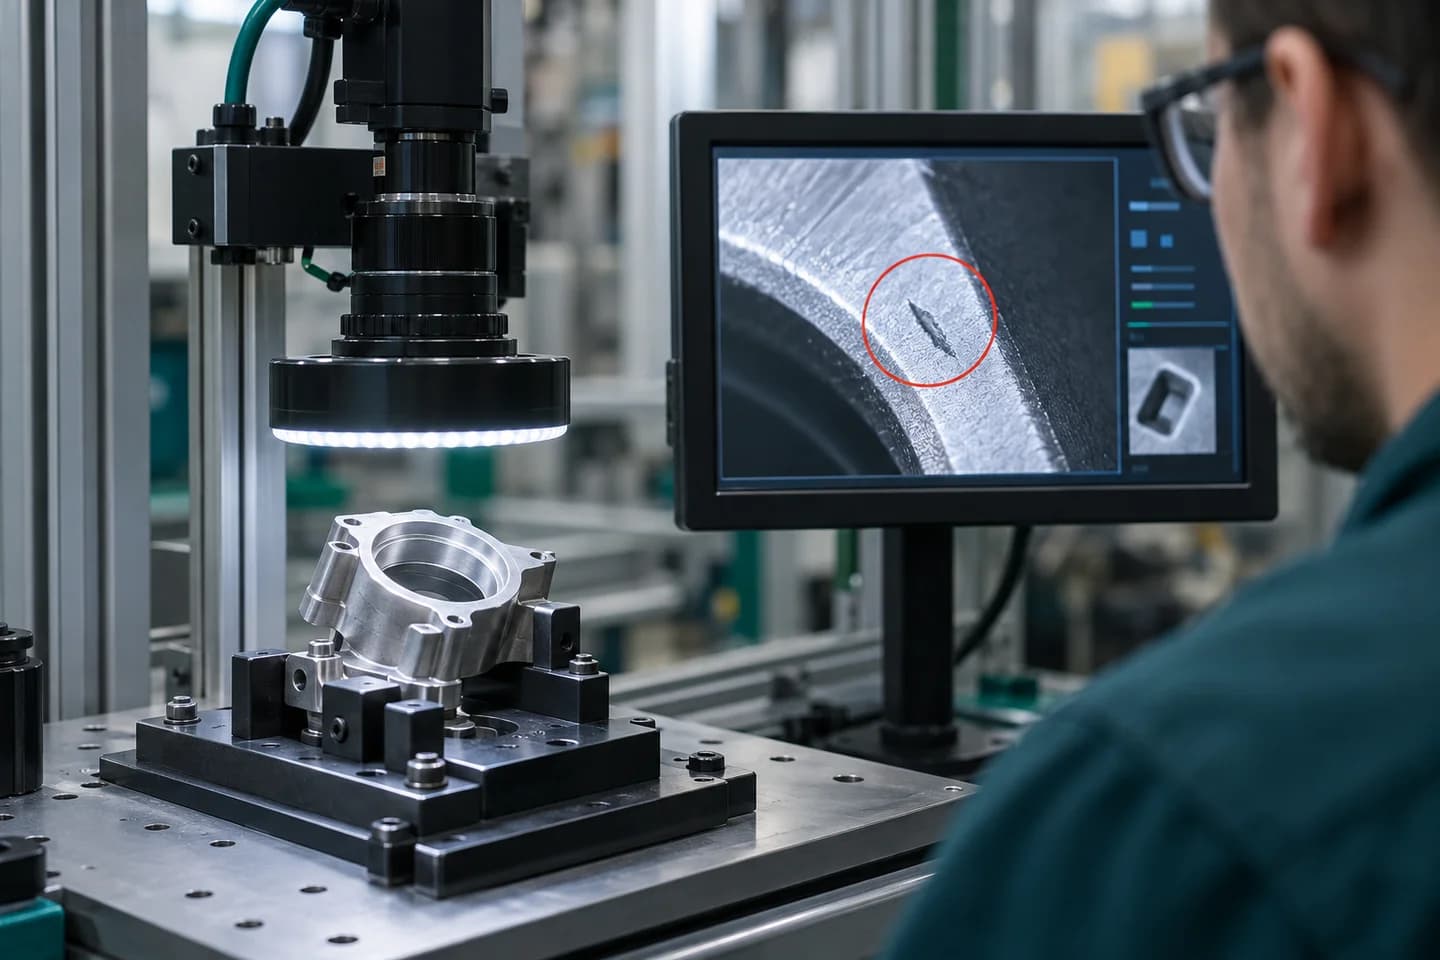
การตรวจคุณภาพด้วยตามนุษย์มีปัญหาเดิมๆ — เหนื่อย, ผิดพลาด, ช้า, ค่าแรงสูง AI Image Processing ใช้กล้อง + Computer Vision ทำงานนี้แทนได้แม่นยำกว่า 24/7
AI Image Processing คืออะไรในบริบทโรงงาน?
คือการใช้ กล้องอุตสาหกรรม ถ่ายภาพชิ้นงาน แล้วประมวลผลด้วย AI model เพื่อ:
- ตรวจหา defect (รอยขีด, สี, รอยร้าว, ของขาด)
- วัดขนาด (dimension measurement)
- อ่านตัวอักษร (OCR สำหรับ batch number, expiration)
- นับจำนวน (counting)
- จำแนกประเภท (classification)
ต่างจาก Machine Vision แบบเดิมตรงที่ AI เรียนรู้จากตัวอย่าง — ไม่ต้องเขียน rule แบบ manual
Use Cases ที่นิยมในโรงงานไทย
1. Defect Detection (ตรวจของเสีย)
- อุตสาหกรรม: รถยนต์, อิเล็กทรอนิกส์, อาหาร
- ตัวอย่าง: ตรวจรอยขีดบนตัวถัง, จุดดำในเม็ดยา, fiber ในผ้า
- ROI: ลดของเสียถึงลูกค้า 80-95%
2. PCB Inspection
- อุตสาหกรรม: Electronics
- ตัวอย่าง: ตรวจ solder joint, missing component, polarity
- Speed: 1 PCB/วินาที (เทียบกับคน 30 วินาที)
3. Surface Inspection
- อุตสาหกรรม: Steel, plastic, glass
- ตัวอย่าง: ตรวจรอยบุบ, สี non-uniform, ขนาดผิด
- Resolution: ตรวจ defect ขนาด 0.1mm ได้
4. OCR สำหรับ Lot/Batch
- อุตสาหกรรม: อาหาร, ยา, เครื่องดื่ม
- ตัวอย่าง: อ่านวันหมดอายุ, batch code, serial number
- Use case: ตรวจสอบ traceability
5. Packaging Verification
- อุตสาหกรรม: Consumer goods
- ตัวอย่าง: ตรวจฉลาก, ปิดผนึก, ปริมาณในขวด
- Compliance: ตอบ FDA, GMP
สถาปัตยกรรมระบบ
[Industrial Camera] → [Lighting + Trigger] → [Edge GPU/CPU]
                                                  ↓
                                      [AI Model Inference]
                                                  ↓
                              [Pass/Fail Decision] → [Reject Mechanism]
                                                  ↓
                              [Result Logging] → [Dashboard + Reports]
Hardware ที่ต้องมี:
Camera:
- Industrial Camera (Basler, Cognex, Allied Vision) — 30,000-150,000 บาท
- Resolution: 2-12 MP ตาม use case
- Frame rate: 30-200 fps สำหรับ inline
Lighting:
- ⚠️ สำคัญที่สุด — แสงผิด ภาพผิด AI ก็ผิด
- Backlight, dome light, ring light, coaxial — เลือกตาม object
Computing:
- NVIDIA Jetson (Edge AI) — 15,000-50,000 บาท
- Industrial PC + GPU — 100,000-300,000 บาท
- Cloud GPU — สำหรับ training, ไม่แนะนำ inference
เลือก AI Model ยังไง?
Classification (จำแนกประเภท)
- EfficientNet, ResNet — ใช้ทั่วไป
- MobileNet — สำหรับ edge device
- ใช้เมื่อ: "ของชิ้นนี้ Pass หรือ Fail?"
Object Detection (หาตำแหน่ง)
- YOLO (YOLO11, YOLOv8) — เร็ว, แม่นยำ, deploy บน edge ได้
- RT-DETR — transformer-based แม่นยำในฉากที่วัตถุซ้อนกัน แต่ต้องใช้ GPU แรงกว่า
- ใช้เมื่อ: "Defect อยู่ตรงไหนของชิ้นงาน?"
Anomaly Detection (เรียนจากของดีอย่างเดียว)
- PatchCore, PaDiM (มีในไลบรารี Anomalib)
- ใช้เมื่อ: ของเสียเกิดน้อยจนเก็บภาพ defect ได้ไม่พอ — train จากภาพงานดีแล้วให้ AI จับสิ่งที่ "ผิดปกติ"
Segmentation (แยก pixel)
- U-Net — Medical, defect
- SAM (Segment Anything) — General purpose
- ใช้เมื่อ: "ขอบเขตของ defect แม่นๆ"
Anomaly Detection
- PatchCore, PaDiM — train ด้วยภาพ "ของดี" เท่านั้น
- ใช้เมื่อ: ของเสียมีน้อย ภาพ defect ไม่พอ train
ดูเพิ่มเรื่อง Object Detection ในโรงงาน
ขั้นตอนการ implement
1. Define Problem (1 สัปดาห์)
- Defect ประเภทไหน? (พื้นผิว, ขนาด, สี)
- Throughput ต้องการ? (ชิ้น/นาที)
- Accept/Reject criteria เคลียร์ไหม?
2. Collect Data (2-4 สัปดาห์)
- ถ่ายภาพ 500-2,000 ชิ้น (Pass + Fail)
- หลากหลาย lighting, angle, background
- Annotate (label) ทุกภาพ
3. Train Model (1-2 สัปดาห์)
- Split data 70/15/15 (train/val/test)
- Augmentation: rotate, flip, brightness
- Target accuracy 95%+
4. Deploy & Test (2-4 สัปดาห์)
- ติดตั้ง camera + lighting + computer
- Run parallel กับ manual inspection
- เก็บ false positive/negative ไป retrain
5. Production (Continuous)
- Monitor accuracy ทุกเดือน
- Retrain เมื่อมี defect ประเภทใหม่
ความท้าทายที่พบบ่อย
❌ Lighting เปลี่ยน → Model พัง
แก้: ใช้ enclosed lighting, controlled environment
❌ Class imbalance (ของเสียน้อย)
แก้: ใช้ Anomaly Detection หรือ generate synthetic defect
❌ Domain shift (เปลี่ยน batch วัตถุดิบ)
แก้: Active learning, retrain ตาม schedule
❌ False positives สูง
แก้: เพิ่ม training data, ปรับ threshold, multi-stage inspection
งบประมาณตัวอย่าง: ตรวจ PCB
| รายการ | บาท | |--------|-----| | Industrial camera 5MP + lens | 80,000 | | Lighting (dome light) | 25,000 | | NVIDIA Jetson Orin Nano Super | 15,000 | | Reject mechanism (pneumatic) | 40,000 | | Software development | 250,000 | | Annotation + training | 80,000 | | Integration + testing | 50,000 | | รวม | 540,000 |
ROI: ลดของเสียถึงลูกค้า, ประหยัด QC 2 คน → คืนทุน 8-14 เดือน
เริ่มเล็ก-วัดผลได้-ขยายเป็น
แนะนำเริ่มจาก:
- 1 station, 1 defect type — pilot
- ใช้ pre-trained model (transfer learning) ก่อน train จากศูนย์
- ตั้ง KPI ชัด เช่น accuracy ≥ 95%, false reject ≤ 2%
- เก็บข้อมูลใช้ retrain ทุก 1-3 เดือน
สรุป
AI Image Processing ไม่ใช่ของอนาคตอีกต่อไป — โรงงานชิ้นส่วนรถยนต์, อิเล็กทรอนิกส์, อาหารในไทยใช้กันแล้ว
จุดสำเร็จคือ Lighting + Data + Engineering มากกว่า model ที่หรู
อ่านต่อ
- Object Detection ในโรงงาน — เจาะลึก YOLO + use cases
- ระบบบันทึกข้อมูลการผลิต — เก็บภาพและ metadata อย่างเป็นระบบ
ถ้ากำลังพิจารณา AI Vision สำหรับสายการผลิต ทีม ไนท์เดย์ เทคโนโลยี ทำงานด้าน Computer Vision ตั้งแต่ตรวจ PCB ถึง OCR ภาษาไทย — ติดต่อเรา เพื่อคุยรายละเอียด